
Self-host your analytics for $4 per month - Getting started with GoatCounter
A full walkthrough covering VPS setup, firewall rules, systemd, Caddy reverse proxy and GoatCounter configuration on a low-spec DigitalOcean droplet.
In this blog post, we’ll explore a way of configuring a full self-hosted analytics solution with GoatCounter on a DigitalOcean droplet.
I tried to find an affordable solution for analytics. There are a bunch of options: Google Analytics, Plausible, Simple Analytics, Umami.
Google Analytics is too complex and hard to understand. It’s also overkill for my needs.
Regarding the others, all of them are viable options, but some cost too much.
For 1, 2, or 5 websites, the free tier can be a viable option. There are also affordable options for like 10 apps. But what if we have even more apps?
If you’re like me, willing to build tens of small static websites and mini tools, costs add up so much. The small mini tools won’t have a ton of traffic, and I won’t be able to monetize them that easily to justify the expenses.
The solution is simple: self-hosting.
Infrastructure
DigitalOcean is my provider of choice. Their cheapest option is a $4/month VPS that offers 1 vCPU, 512MB RAM and 10GB SSD. I’d like to use that if possible.
There are 2 well-known self-hosting solutions: Plausible and Umami.
Based on the chat I had with Claude, Plausible requires more computing power to run properly. Umami can work alright, but based on what Claude said, it works well with low traffic. In case one app has heavier traffic, the whole solution won’t be as reliable and stable. I didn’t test these things on my own, though. But it proposed a different option that I’m willing to try: GoatCounter.
Step 1: VM/Droplet creation
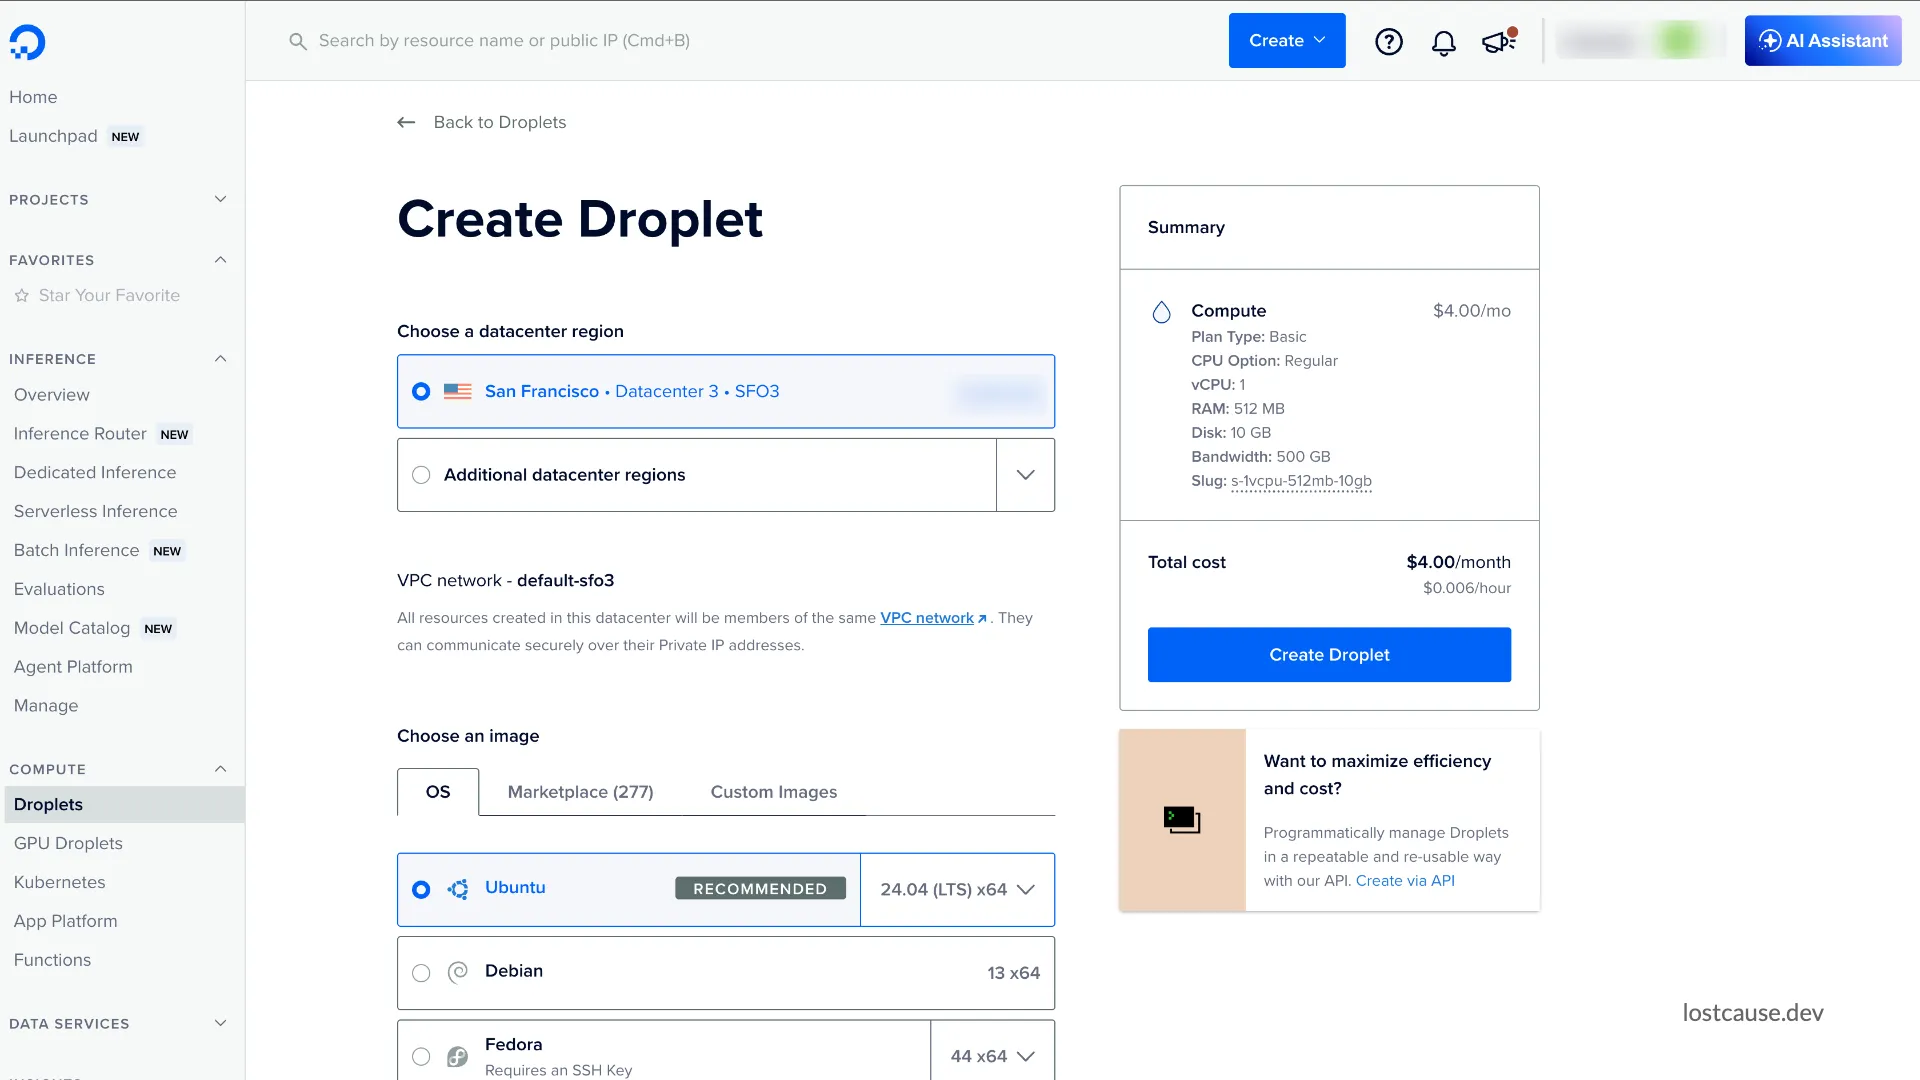
For this use case, a $4/month droplet running Ubuntu 24.04 LTS should work just fine.
Creating one can be done directly in the DigitalOcean dashboard. Depending on updates, the interface might look different:
Step 2: Non-root sudo user creation
We don’t want to use the root to run everything. This is a well-known security practice. In case of a compromise, the newly created user has limited permissions.
This is how we can create a user with sudo permissions:
ssh root@<droplet-ip>
apt update && apt upgrade -y
# create a non-root sudo useradduser deployuserusermod -aG sudo deployuser
# setting up a password for the user for recoverypasswd deployuser
# setting up swap: a safety net on 512MB RAM so memory spikes# slow things down instead of getting processes killed outrightfallocate -l 1G /swapfilechmod 600 /swapfilemkswap /swapfileswapon /swapfileecho '/swapfile none swap sw 0 0' >> /etc/fstab
# blocks SSH brute-force attemptsapt install fail2ban -y
Now logging in as deployuser and using sudo should be possible:
ssh deploy@<droplet-ip>sudo whoami # should print "root" after entering deploy's passwordStep 3: Cloud Firewall setup
These are the rules we want for the firewall:
- Inbound Rules: HTTP (port 80) and HTTPS (port 443), both with Sources set to “All IPv4” / “All IPv6”.
- Outbound Rules: the default configuration (all traffic allowed outbound).
At this point, port 22 is closed, and 80/443 are open.
I don’t SSH into the VPS very often. So whenever I want to do so, I’ll login to the Digital Ocean dashboard and add a new rule to enable port 22 for my IP. That’s an extra safety precaution I took.
Step 4: DNS configuration
In order to setup analytics, owning one domain is required. We need a subdomain pattern, e.g. *.stats.yourdomain.com. Each individual app would use a subdomain that looks like this: app1.stats.yourdomain.com, app2.stats.yourdomain.com and so on.
Let’s add an A record for the first domain (we’ll add the rest as we onboard each app):
stats.yourdomain.com A <your-droplet-ip>Step 5: GoatCounter installation
⚠️ This bash script was suggested by Claude. It is what I ran when I installed my solution.
The installation process will most probably change in the future, so better check the official GoatCounter Documentation or ask AI for some help.
cd /optsudo wget https://github.com/arp242/goatcounter/releases/download/v2.7.0/goatcounter-v2.7.0-linux-amd64.gzsudo gunzip goatcounter-v2.7.0-linux-amd64.gzsudo mv goatcounter-linux-amd64 /usr/local/bin/goatcountersudo chmod +x /usr/local/bin/goatcounterGoatCounter runs a local sqlite3 database. This is how one is created:
sudo mkdir -p /opt/goatcounter/dbcd /opt/goatcounter
# creates the SQLite DB + your admin login for the first sitesudo goatcounter db create site -createdb \ -db sqlite3:///opt/goatcounter/db/goatcounter.sqlite3 \ -vhost stats.yourdomain.com \
sudo chown -R www-data:www-data /opt/goatcounterIt’ll ask to set a password for dashboard login. This should be separate from the one on Step 2, when we configured the droplet user.
Step 6: Running GoatCounter as a systemd service
Let’s create a systemd configuration file /etc/systemd/system/goatcounter.service:
# /etc/systemd/system/goatcounter.service[Unit]Description=GoatCounter analyticsAfter=network.targetStartLimitIntervalSec=60StartLimitBurst=5
[Service]User=www-dataExecStart=/usr/local/bin/goatcounter serve \  -listen localhost:8081 \  -tls none \  -db sqlite3:///opt/goatcounter/db/goatcounter.sqlite3Restart=alwaysRestartSec=5
[Install]WantedBy=multi-user.target
To load the configuration and check that everything is properly configured, run the following lines:
sudo systemctl daemon-reloadsudo systemctl enable --now goatcountersudo systemctl status goatcounter # confirm it's runningStep 7: Caddy reverse proxy installation
Caddy is a lightweight reverse proxy that can automatically manage TLS certificates.
These are the commands we need to run to install Caddy:
sudo apt install -y debian-keyring debian-archive-keyring apt-transport-httpscurl -1sLf 'https://dl.cloudsmith.io/public/caddy/stable/gpg.key' | sudo gpg --dearmor -o /usr/share/keyrings/caddy-stable-archive-keyring.gpgcurl -1sLf 'https://dl.cloudsmith.io/public/caddy/stable/debian.deb.txt' | sudo tee /etc/apt/sources.list.d/caddy-stable.listsudo apt update && sudo apt install caddy -yOnce installed, let’s create the Caddy configuration file /etc/caddy/Caddyfile:
# /etc/caddy/Caddyfilestats.yourdomain.com { reverse_proxy localhost:8081}Let’s restart the service:
sudo systemctl reload caddyCaddy automatically requests and renews a Let’s Encrypt certificate for stats.yourdomain.com the first time it loads this config, as long as the DNS record from Step 4 is already resolving to your Droplet.
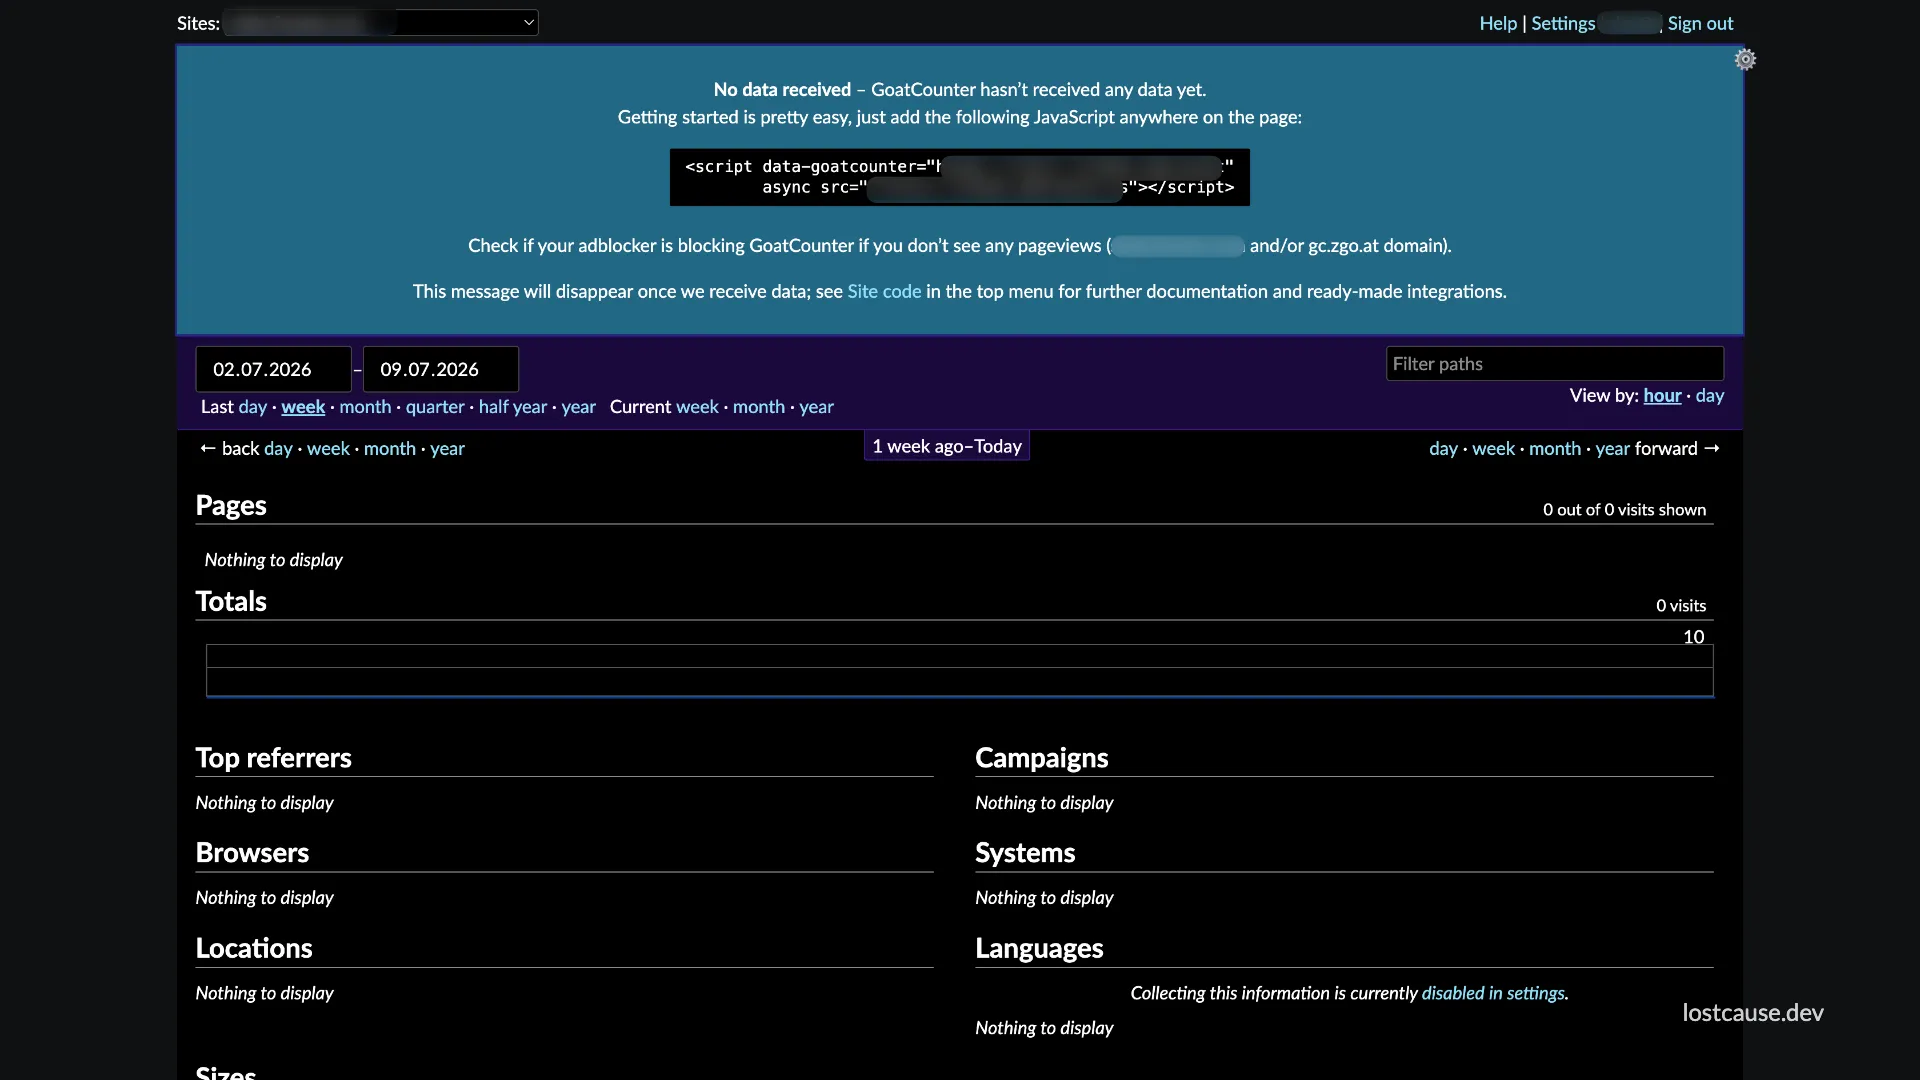
We should be good to go. Let’s open https://stats.yourdomain.com and log in with the dashboard credentials (the ones configured at Step 5).
Step 8: Adding more domains
So we have the default installation ready. Now it’s time to add more subdomains for each app we want to track.
The way we do this is:
- In the GoatCounter dashboard, we should go to Settings → Sites → Add site, provide a name, and set its vhost (e.g.
app2.stats.yourdomain.com). - We need an A record for that subdomain pointing to the same Droplet IP (similar to what we did in Step 4, but we use
app2.stats.yourdomain.comthis time). - Update the Caddyfile and reload Caddy. More domains can be listed in one block and Caddy fetches a separate certificate for each one:
# /etc/caddy/Caddyfileapp1.stats.yourdomain.com,app2.stats.yourdomain.com,app3.stats.yourdomain.com { reverse_proxy localhost:8081}- The last step is adding the tracking snippet to our app HTML:
<script data-goatcounter="https://app2.stats.yourdomain.com/count" async src="//app2.stats.yourdomain.com/count.js"></script>Conclusions
For more configuration details, it’s better to check the official Goat Counter documentation: https://www.goatcounter.com/help/start
We made it to the end 🎉
Huge congrats, and thank you for checking out this post!
